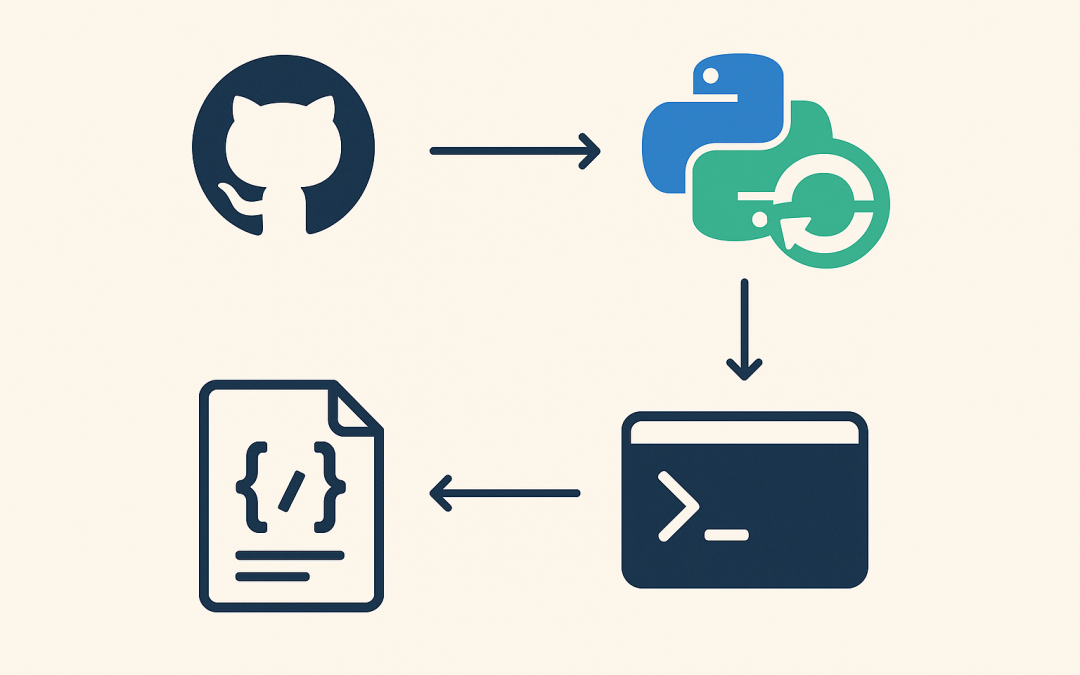
In this blog post, “Auto Start Python Virtual Environment in GitHub Codespaces” we’ll cover two main approaches: configuring your shell startup file (recommended) and setting up auto-activation project-wide with devcontainer.json.
When working in GitHub Codespaces, it’s common to use Python virtual environments to keep your dependencies clean and project-specific. However, if you’ve ever spun up a new Codespace and noticed that your virtual environment isn’t automatically active, you know how annoying it can be to type source .venv/bin/activate every time you open a terminal. Fortunately, there are simple ways to make your virtual environment auto-activate each time you open a new terminal session.
What is GitHub Codespaces?
GitHub Codespaces is a cloud-based development environment that lets you spin up a ready-to-code dev setup directly from a GitHub repository. It provides a fully managed VS Code environment running in the cloud, with all the dependencies, tools, and extensions preinstalled. This means you can start coding almost instantly without needing to configure your local machine, making it perfect for collaboration, onboarding, and working from any device.
Why Auto-Activate a Virtual Environment?
A Python virtual environment isolates your project dependencies so they don’t conflict with global Python packages or other projects. By auto-activating the environment, you save time by not having to manually run source on each new terminal, reduce mistakes by avoiding global installs, and maintain consistency so every developer works in the same environment.
Option 1: Update .bashrc or .zshrc (Recommended)
The most straightforward way to auto-activate a Python virtual environment is to edit your shell’s startup file so the environment is activated each time a terminal session starts. This is the recommended method for most developers.
Step 1: Locate your virtual environment
If you created it with python -m venv .venv, the activation script will be here:
/workspaces/your-repo/.venv/bin/activateStep 2: Update your shell startup file
Codespaces typically uses bash by default, but some setups use zsh. Depending on your shell, open the correct file:
nano ~/.bashrcor
nano ~/.zshrcStep 3: Add the activation command
Append this line to the bottom of the file:
source /workspaces/your-repo/.venv/bin/activateStep 4: Reload or restart the terminal
Either restart the terminal or reload the file:
source ~/.bashrcFrom now on, every new terminal session will start with your Python virtual environment active. If you use both .bashrc and .bash_profile, you can add the line to both files to ensure activation works across all shell types. This method is simple, lightweight, and tied to your personal Codespace environment, which is why it is the recommended approach.
Option 2: Use .devcontainer/devcontainer.json for Project-Wide Setup
If you want everyone who opens a Codespace for your repository to have the virtual environment auto-activated, you can configure this in the devcontainer.json file. This file defines how your Codespace is built and provisioned.
Step 1: Open devcontainer.json
Locate .devcontainer/devcontainer.json in your repository. If it doesn’t exist, create it.
Step 2: Add a postCreateCommand
This command runs after the Codespace is created, allowing you to append the activation line into .bashrc:
{
  "postCreateCommand": "echo 'source /workspaces/your-repo/.venv/bin/activate' >> ~/.bashrc"
}
Step 3: Rebuild your Codespace
Click Rebuild Container in VS Code (inside Codespaces). Now, every developer who opens a new Codespace will have the venv auto-activated. This approach is more collaborative, ensuring consistent setup across teams and making onboarding smoother, especially in larger projects.
Bonus: Configure VS Code Python Extension
Another way to streamline your workflow is to set the default Python interpreter in VS Code (inside Codespaces). This ensures that debugging sessions and scripts always run with the correct virtual environment.
- Open the Command Palette (
Ctrl+Shift+P). - Search for Python: Select Interpreter.
- Choose your
.venv. - Save it in
.vscode/settings.json:{ "python.defaultInterpreterPath": "/workspaces/your-repo/.venv/bin/python" }
This isn’t strictly auto-activation, but it ensures your Python tools and extensions always point to the right environment.
Which Option Should You Choose?
For individual use in your Codespace, use the .bashrc/.zshrc method. It’s the simplest and most direct. For team projects where multiple developers use Codespaces, use the devcontainer.json approach. For best results, combine them: configure .bashrc for yourself and add a devcontainer.json entry so your teammates benefit too.
Final Thoughts
Auto-activating a Python virtual environment in GitHub Codespaces is a small but powerful productivity boost. It eliminates repetitive steps, reduces setup errors, and ensures you’re always working inside the right environment. By following the recommended .bashrc method for personal use and optionally extending it to the devcontainer.json approach for team projects, you’ll have a smooth, consistent development experience in Codespaces. Stop typing source .venv/bin/activate over and over — let your Codespace do it for you automatically. 🚀
Discover more from CPI Consulting -Specialist Azure Consultancy
Subscribe to get the latest posts sent to your email.

