In this blog post Publish a Port from a Container to Your Computer the Right Way we will walk through what port publishing really means, why it matters, and how to do it correctly across Docker, Podman, and Kubernetes.
Publishing a port connects an application running in an isolated container to the outside world. With the right mapping, your team can browse a web app on localhost, expose APIs to other hosts, or route traffic through a load balancer. Done poorly, you can create security holes, debugging headaches, or performance bottlenecks. In Publish a Port from a Container to Your Computer the Right Way we start high level, then move into commands, configuration, and practical guardrails.
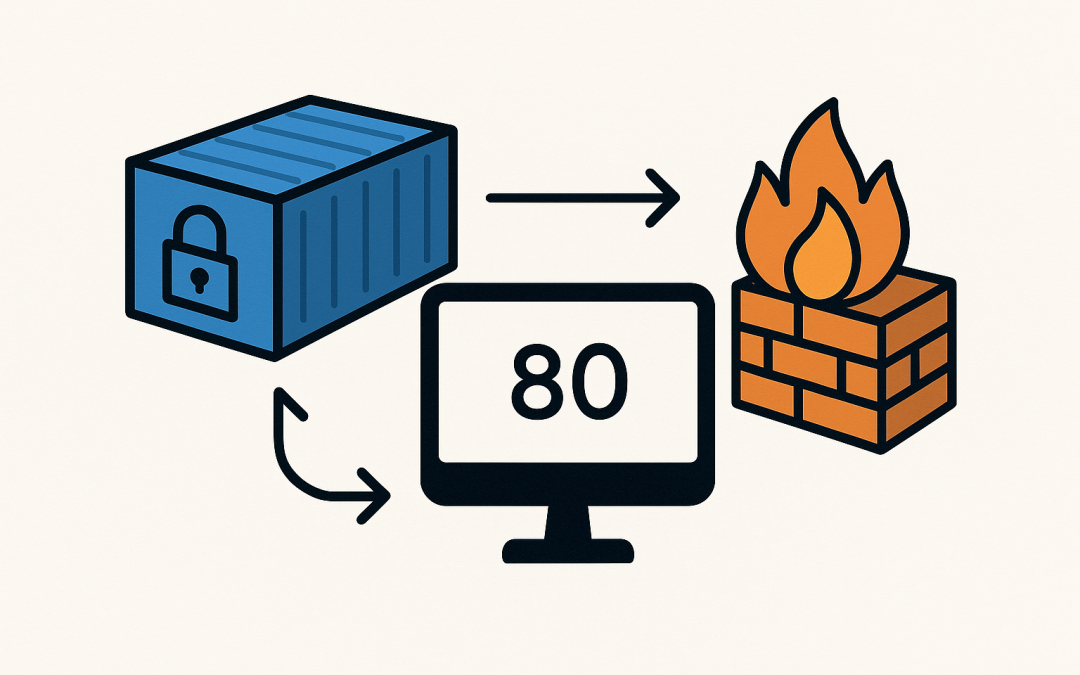
What it means to publish a port
Containers run with their own network stack. By default, they are invisible to your computer’s network. Publishing a port creates a path from a host interface and port (for example, 127.0.0.1:8080) to a port inside the container (for example, 80). Your browser or client connects to the host; Docker or Podman forwards the traffic to the container.
Important distinction: EXPOSE in a Dockerfile documents intent; it does not publish anything. The -p/–publish flag (or ports in Compose) actually binds the port on your computer and forwards traffic.
What happens under the hood
On Linux, Docker and Podman connect containers to a virtual bridge (often docker0 or cni-podman0). Each container gets a virtual Ethernet pair (veth). Traffic from the host to the container crosses this bridge. Port publishing configures NAT and firewall rules (iptables or nftables) and may use a lightweight proxy so that connections to the host port are forwarded to the container’s IP and port.
On macOS and Windows, Docker Desktop runs containers inside a lightweight VM (HyperKit/Apple Virtualization on macOS, WSL2 or Hyper-V on Windows). When you publish a port, Docker sets up forwarding from the host OS into that VM and then into the container. It feels like localhost, but it hops through a VM.
Because of this architecture, performance is usually good, but certain edge cases (firewalls, VPNs, corporate proxies, or overlapping subnets) can interfere. Knowing the path helps you troubleshoot.
Quick start publish a port with Docker
- Run a sample web server:
docker run -d --name web -p 8080:80 nginx:stable-alpine
- Test it from your computer:
curl -I http://localhost:8080/
# or open http://localhost:8080 in your browser- Bind to a specific interface (recommended on shared hosts):
docker run -d --name web --restart unless-stopped \
  -p 127.0.0.1:8080:80 nginx:stable-alpine
# Only reachable from the local machine
Best-practice port mappings
- Map a host port to a container port:
-p HOST:CONTAINER(for TCP by default). - Limit exposure by binding to localhost:
-p 127.0.0.1:8080:80. - Bind to a specific address if you must expose:
-p 192.168.1.50:8080:80. - Publish UDP when needed:
-p 514:514/udp. - Let Docker choose a free host port:
-p 0:80(check the assigned port withdocker psordocker inspect). - Publish all documented ports from the image:
-P(uppercase). Use with caution; it may expose more than you intend.
Inside the container, ensure the app listens on 0.0.0.0 (all interfaces), not just 127.0.0.1. If it binds only to localhost inside the container, publishing will not work.
Docker Compose example
Compose makes port publishing reproducible and version-controlled.
version: "3.9"
services:
  web:
    image: nginx:stable-alpine
    ports:
      - "8080:80"           # exposed publicly on the host
      - "127.0.0.1:5432:5432"  # example of localhost-only port (e.g., a DB)
    restart: unless-stopped
Bring it up and test:
docker compose up -d
curl -I http://localhost:8080/
Podman notes
Podman uses the same -p syntax:
podman run -d --name web -p 8080:80 nginx:stable-alpine
Rootless Podman can’t bind to privileged ports (<1024) by default. Either map to a higher host port (for example, 8080) or adjust the system setting (net.ipv4.ip_unprivileged_port_start) if policy allows.
Kubernetes equivalents
Local debugging with port-forward
When you only need quick access from your machine to a Pod or Service:
kubectl port-forward svc/my-service 8080:80
# Then browse http://localhost:8080
port-forward is ephemeral and does not expose anything to the cluster’s external network.
Publish a Service on node ports
To make a Service reachable from outside the cluster without a cloud load balancer:
apiVersion: v1
kind: Service
metadata:
  name: web
spec:
  type: NodePort
  selector:
    app: web
  ports:
    - port: 80
      targetPort: 8080
      nodePort: 30080
Clients reach any node at http://NODE_IP:30080. In managed clouds, prefer LoadBalancer Services or an Ingress controller for cleaner URLs and TLS.
Security essentials
- Find the conflicting process:
sudo lsof -iTCP:8080 -sTCP:LISTENorss -ltnp | grep :8080. - Stop or reconfigure the other service, or map a different host port.
Symptom: works on Linux but not on macOS/Windows
- Remember Docker Desktop uses a VM. Security tools or corporate VPNs may not route to the VM. Try a different port, disable the security tool temporarily, or configure the VPN to allow local networking.
- For WSL2 on Windows, confirm you are using the correct localhost. Newer Docker Desktop versions forward automatically; older setups required extra port proxy rules.
Verify end to end
- From host:
curl -v http://127.0.0.1:8080 - From inside container:
curl -v http://127.0.0.1:80andcurl -v http://<container-ip>:80 - Inspect bindings:
docker inspect <ctr> | jq '.[0].NetworkSettings.Ports'
Common patterns and anti-patterns
- Pattern: Local-only dev services. Map to 127.0.0.1 so teammates can run safely on laptops.
- Pattern: Reverse proxy at the edge. Publish only ports 80/443 on NGINX/Traefik and route internally to app containers on private networks.
- Pattern: Random host ports in CI. Use
-p 0:<port>and emit the chosen port in logs for parallel test jobs. - Anti-pattern: Publishing databases directly to the internet. Use private networking, VPC peering, or SSH tunnels instead.
- Anti-pattern: Relying solely on EXPOSE. It does nothing without -p or Compose ports.
- Anti-pattern: Using host network casually.
--network hostremoves isolation and increases port conflicts; reserve it for specific performance cases.
Advanced tips
- IPv6: Bind explicitly if needed, for example
-p [::1]:8080:80for localhost IPv6. - Multiple ports:
-p 8080:80 -p 8443:443. - Health checks: Combine published ports with
HEALTHCHECKand container orchestrator probes to detect failures. - Observability: Expose Prometheus metrics on a separate local-only port and scrape from the host.
Summary
Publishing a port bridges your container’s private world to your computer or network. On Linux it’s a bridge and NAT; on macOS/Windows it’s forwarded through a VM. The essentials are simple: map the right ports, bind to the right interface, limit exposure, and verify with basic network tools. With the steps and checks above, you can publish ports confidently for development, demos, and production—without surprises.