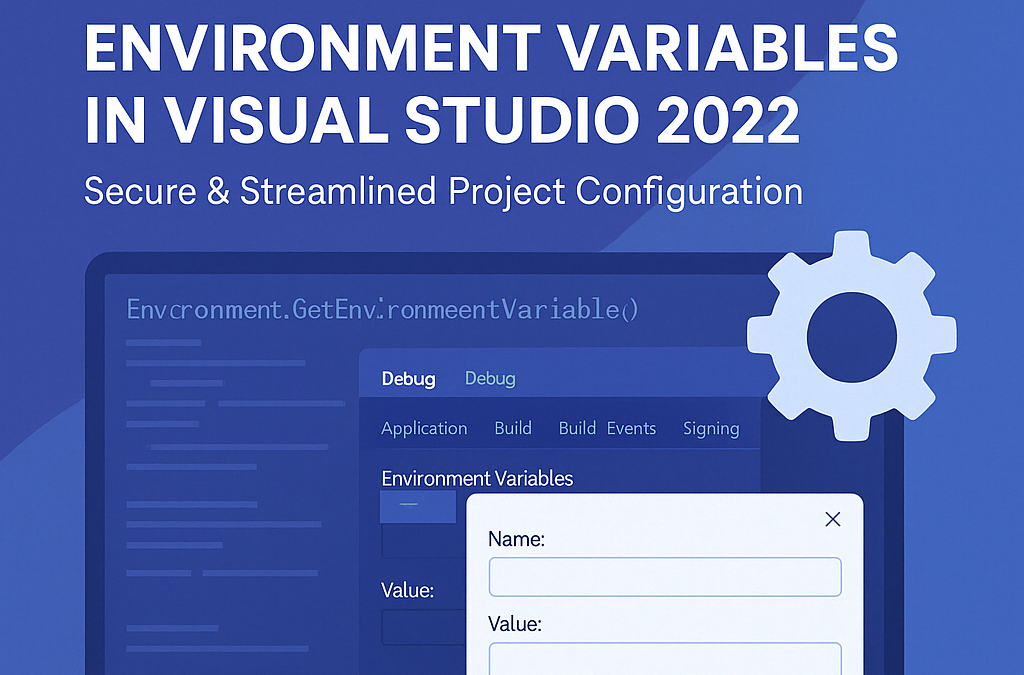
In this Visual Studio and .NET blog post, we will show how to use and add environment variables in Visual Studio 2022 without adding them to the local computer or shell.
Listen to this blog post
By managing environment variables within Visual Studio 2022, you can streamline your development process, avoid potential conflicts, and maintain a cleaner system configuration.
Visual Studio 2022, the latest iteration of Microsoft’s premier integrated development environment (IDE), brings a plethora of features designed to streamline the development process and enhance productivity.
From its powerful code editor to sophisticated debugging tools and support for a wide range of programming languages, Visual Studio 2022 stands out as an essential tool for developers worldwide.
One of the critical functionalities that can significantly impact your development workflow is the ability to manage environment variables directly within the IDE.
Why Use Environment Variables in Visual Studio?
Environment variables are key-value pairs that can influence the behavior of applications. By using environment variables, developers can enhance the security, portability, and manageability of their applications.
Benefits of Using Environment Variables
- Security: Environment variables keep sensitive information out of the source code, reducing the risk of accidental exposure.
- Portability: Applications can be easily moved across different environments (development, testing, production) without changing the code.
- Manageability: Configuration settings can be updated without modifying the application, allowing for easier maintenance and deployment.
Adding Environment Variables to Visual Studio 2022
To add environment variables in Visual Studio 2022, follow these steps:
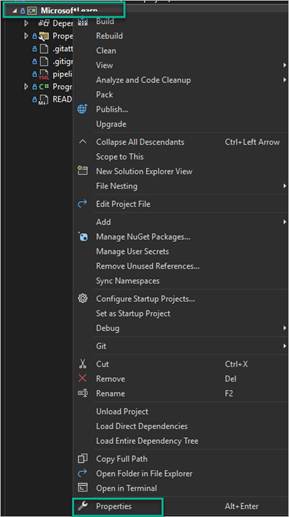
Step 1: Open the Project Properties
Begin by opening your project in Visual Studio 2022. Right-click on the project name in the Solution Explorer and select “Properties” from the context menu.
Step 2: Navigate to Debug Tab
In the project properties window, navigate to the “Debug” tab. This tab contains settings related to debugging and launching the application.
Step 3: Add Environment Variables
Within the “Debug” tab, you will find a section labeled “Environment Variables.” Click the “Add” button to create a new environment variable. Enter the name and value of the variable in the respective fields.

Step 4: Apply and Save Changes
After adding the necessary environment variables, click the “Apply” button to save your changes. You can now close the project properties window.
Testing Environment Variables
To verify that the environment variables are correctly set, you can add code to your application that reads and outputs the values of these variables. For example, in a .NET application, you can use the `Environment.GetEnvironmentVariable` method:
string myVariable = Environment.GetEnvironmentVariable("MY_VARIABLE");
Console.WriteLine($"The value of MY_VARIABLE is: {myVariable}");
Run the application in debug mode to see the output and confirm that the environment variables are working as expected.
Conclusion
Managing environment variables in Visual Studio 2022 is a straightforward process that can greatly enhance the security, portability, and manageability of your applications. By following the steps outlined in this guide, you can easily configure environment variables and leverage their benefits in your development workflow. Visual Studio 2022, with its extensive feature set and user-friendly interface, continues to be an indispensable tool for developers, helping them to build high-quality software efficiently.
Visit out YouTube channel.
For IT consulting services, please contact us.
Discover more from CPI Consulting
Subscribe to get the latest posts sent to your email.